Friday 8 January 2016

My hot and tangy with a bitter undertone, bitter gourd pickle...

Nanna ivattina, swalp kahi... swalp khara... swalp huli... hagalkayi uppinkayi.

And what a beautiful experience it was making this hot and tangy with a bitter undertone, bitter gourd pickle...


I think I have fallen in love , with making pickles...

The recipe:

Ingredients
Bitter gourds: Small tender ones. Half kilo
Red ripe chillies: Twelve
Garlic cloves: Twenty
Curry leaves: Four sprigs. Finely slivered
Oil: About one full cup
Salt: To taste (I add lesser than for usual pickles)
Jaggery: Half teaspoon (Or more of you want to reduce the bitterness even more. I like the bitter undertone of these gourds)
Turmeric: Half teaspoon
Red chilli powder: Half teaspoon (Or more if you want it nice and hot)
Tamarind paste: Two teaspoons
Mustard: Small grain. Two teaspoons
Hing/Asafoeteda: Half teaspoon

Method:
1. Wash the bitter gourds and pat them dry.
2. Chop them into pieces of your choice.
3. Soak the bitter gourd pieces in water with salt and turmeric added to it for about fifteen minutes. Squeeze the pieces of all the water and keep aside.
4. Heat the oil in a pan. Add mustard seeds and let them sputter.
5. Add the garlic, red chillies, curry leaves and asafoetida and stir for a short while. Don't let the garlic or curry leaves turn brown.
6. Add the bitter gourd pieces and saute till a little soft.
7. Now add the turmeric, chilli powder, salt, jaggery and tamarind paste. Stir well and saute till the raw smell of the tamarind pulp is gone.
8. Turn off the heat and let the mixture cool.
9. Store your pickle in an airtight jay/bottle.

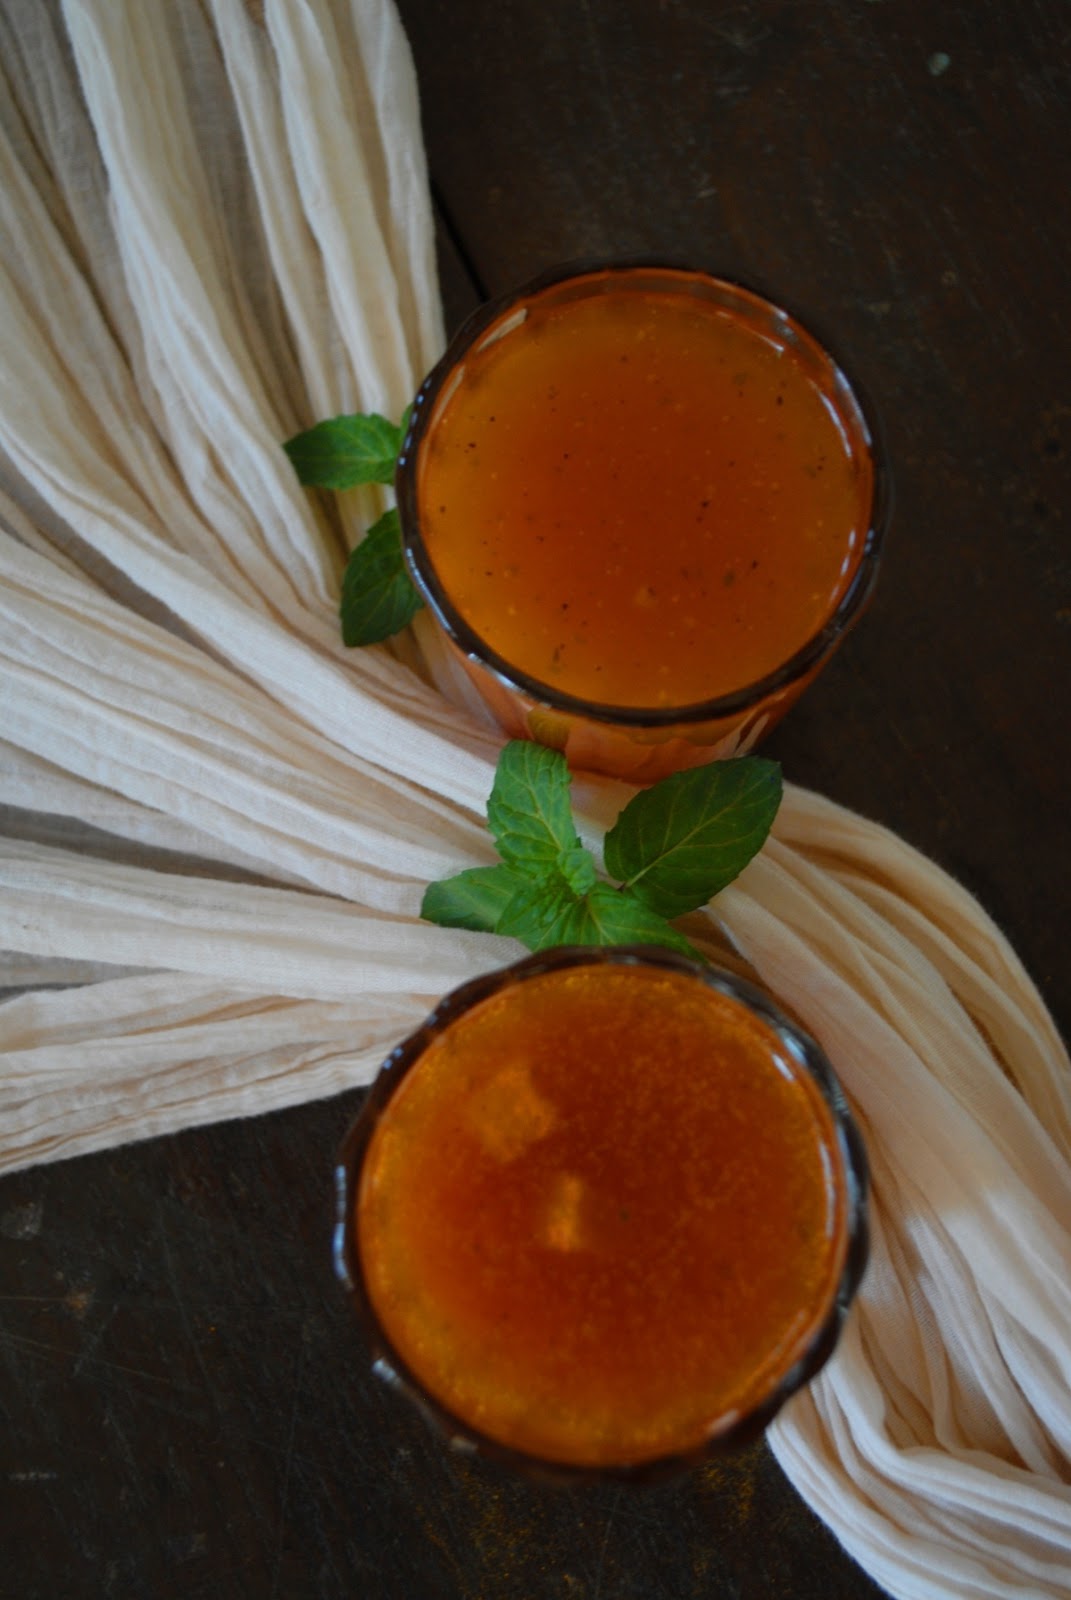
This pickle gets a lovely reddish brown hue and a tongue-tickling, hot and tangy with a bitter undertone flavour. You could have it immediately or wait for a couple of days for it to improve. Since you have added enough oil to this pickle, it would not spoil easily and you could store it for quite some time. But then, it turns out so tasty, I doubt you would let it last for long. I started having mine within an hour of making it !

Well, making pickles is turning out to be an undoubtedly beautiful experience and sends me back to those days when Granny used to make pickles of all kinds throughout the year, with seasonal vegetables and fruits. The house used to get filled with the aroma of freshly made pickles and the kitchen loft would be lined with those quintessential white and brown "uppinkayi bharanis". I doubt I can ever match Granny's pickle-making proficiency, but nevertheless, I don't think I am going to stop with just these two pickles. (The previous one being my fresh turmeric and ginger pickle, that I made last week) I might as well take advantage of the pickling-high I am on and try out another pickle...


Wednesday 6 January 2016

Pleasures of growing palak...

What a pleasure it is, to see your greens grow well without much care and worry. In this case, my palak has grown really lush and healthy and bursting with freshness. And my joy knows no bounds...

These palak seeds were the regular naati/local ones I bought from my Beeja maro Ajji/the seed lady from the kayipalle pyaati/vegetable market. I have grown them in a mix of containers. Some are growing in 14" pots along with other greens, while some are growing in small 6" hanging pots. And some others are growing in those little white take-way containers. The potting mix for all of the palak is the same. My usual 1:1 mix of soil and compost with some neem cake powder thrown in to arrest fungal attacks. I have found this potting mix the best for my greens and over the years, I have settled for this for all of my greens. I have ensured all the pots and containers have good drainage and water well to keep the soil moist, not wet and soggy. Right now, I water them once. Either early in the morning or late evenings. Come summer and I will have to water almost all of my plants twice a day.

I am able to enjoy multi-harvests with my palak. About a week back I harvested quite a bit, by snipping off the outer mature leaves. And now all of the plants have grown back new leaves and will be ready for another largish harvest in a day or two. My palak has always given me a minimum of ten to twelve harvests before bolting. I have already had about four to five harvests with my existing plants. I have sown more seeds a week back, in pots and in the ground too. This way, by the time the existing plants reduce their harvests/are ready to retire, the new batch will be ready for harvest. Staggered sowing with greens, is a good way to ensure you have a steady supply all the time. I do the same with my other greens like, sabbasgi/dill, ajwain/carom, hunchik soppu/green sorrel and kotambri/coriander.

Well, palak does attract it's own share of pests and problems. Some of the common ones could be...
a) Young seedlings could attract cutworms, that eat away entire seedlings.
b) Seedlings could collapse due to stem rot (Over watering) too.
c) Young plants could attract aphids, spider mites, flea beetles or even cabbage loopers. 
d) Leaves could be chewed away by slugs or snails or even grasshoppers and praying mantises.
e) You may find white wiggly patterns on the leaves. These would be leaf miner larvae tunnels.
f) Leaves could curl under due to aphids or lack of nutrients like nitrogen.
g) Leaves could sport white powdery mildew, a while powdery substance on the underside of the leaves and brown patches on top, caused by a fungal attack.

There is no one shot remedy for all of these issues. But a lot of them could be avoided by sowing good quality seeds to begin with. And then ensuring you provide your spinach a good, clean, well nourished (compost/vermicompost) potting mix, by not over-crowding you plants and allowing them to breath well, water well but not excessively, spray something like a diluted neem oil spray once in a while, if needed, harvest mature leaves in time and clear dead or diseased leaves immediately. Following some simple practices like these could go a long way in ensuring you have a healthy and lush crop of spinack/palak. I have thankfully not had to deal with any major pest or disease issues with my palak. What I experience though, is grasshopper attacks. There's nothing much I do if there are just a couple of them. If the numbers increase, I hand pick them and transfer them to some bush outside the compound or in the nearby park. I have sometimes faced a powdery mildew issue. What I do is, carefully snip off the affected leaves as soon as I notice a mildew attack and discard the leaves far away. I sometimes trim the plant completely to the ground and allow it to grow back. Most of the times, I have had healthy leaves popping back. There are a couple of times, I have sprayed a dilute neem oil solution and that too has helped. I have not tried anything more than that. If a plant ever faces any sever and persistent issues, I know what I am going to do. Just allow the plant to retire gracefully, clean up the container/pot and use some fresh potting mix and begin afresh. Sometimes, it could be the soil that harbours the problem. And that's from where your spinach/palak could be getting the disease. You could solarise (Expose your potting mix well in the sun) the potting mix and add fresh compost to it to re-vitalize it and give it a new lease to life.

Palak for me, has been one of the many perky mascots of my little green patch patch. Both in the narrow balconies earlier and now in the ground garden. It has always provided me joy in all of it's stages. I still recall how I used to count the number of leaves in my first few harvests and would rejoice when the number went up by even four or five leaves. Though at first, (Mostly because of space constraints) my initial harvests were large enough only to grace my salads, I gradually began to get innovative with space management and even went vertical with growing vegetables (Especially greens) and today, I am able to harvest enough to make a proper Palak-paneer dish, enough for four servings. And the joy of growing and harvesting spinach/palak has grown by leaps and bounds. I have in no way mastered the art of growing palak, and I have not overcome every growing obstacle... Everyday is a new experience that teaches me something new. Who know, what new problem I may encounter tomorrow. Whatever that may be, I continue sowing more palak seeds and continue looking forward in hope and excited anticipation to better and bigger harvests... That's the brilliantly unmatched experience that growing your own food gives you...

Here's hoping more of you grow palak and enjoy the pleasure of growing and harvesting and eventually savouring the palak you have grown. Cheers !!


And below are pictures of how I went vertical with growing palak in my narrow balcony...


Palak is pretty non-fussy and accommodating. Look at it growing so well in a small (3"-5") tea tin. 


Waste take-away containers are great t grow palak. Two to three plants grow very well in one container and give you a number of harvests.


Even a half litre soft drink bottle proved an excellent host to my palak !


My liquid lunch for today...


Tuesday 5 January 2016

A bit of magic on my window sill...

I have always been delighted at the prospect of a new day, a fresh try, one more start, with perhaps a bit of magic waiting somewhere behind the morning.
B. Priestley

And many-a-times, when the warm softly glowing morning sunlight gently creeps onto my window sill, I find one bit of that ethereal magic. A few enchanting moments spent with that fleeting magic, and I am filled with hope, with a warm feeling of possibility, all ready to make one more start...    


Bhrami and radish greens with tea on my window sill...

January 4

“When you arise in the morning, think of what a precious privilege it is to be alive, to breathe, to think, to enjoy, to love... then make that day count !”
Steve Maraboli

And this morning it was my bhrami and radish greens with tea on my window sill...


Saturday 2 January 2016

Arishna-shunti uppinkayi !

Adu mavinakayi... aa.kayi... ee-kayhi alla. .. adu UPP-ina kayi !!

Aadra naa madiddu, arishna-shunti uppinkayi... :D

I did it ! I was dreaming of making this Turmeric-ginger-chilli pickle since the time I harvested my lovely turmeric, two days back. And here it is...

A very simple recipe that I came up with, from a mix of recipes. One from my neighbour and a from some recipes on the internet.

Ingredients
Turmeric: Quarter kilo.
Ginger:
Quarter kilo.
Green chillies: 100 grams
Lime juice: Of 8 limes
Mustard oil: 200 grams
Mustard: Two tea spoons
Fenugreek/Methi seeds: Two teaspoons
Salt: Two teaspoons
Asafoetida: Half teaspoon

Method

Wash the turmeric and ginger very well and coarsely scrape off the skin.

Dry the turmeric and ginger and slice them into slim roundels.
Wash and dry the green chillies and cut them into small roundels.
Squeeze out the juice of all eight limes, strain and add all of it to the turmeric-ginger-green chilli mix.
Add the salt.
Heat the mustard oil in a tempering vessel. Add fenugreek seeds and mustard and wait till the mustard sputters. Take care to see the fenugreek doesn't burn.
Add asafoetida, stir it in quickly ans turn off the flame.
Let the tempered oil cool down to room temperature. After it has cooled, add it to the turmeric-ginger-green chilli mix and stir it into the mix well.
Transfer the pickle to a pickle jar/glass bottle with a good airtight lid.
I keep this pickle in the sun or out in a warm place in the kitchen for three to four days, till it is improved and the turmeric and ginger have soaked in the lime juice and have released their flavours.

Note: I have added fairly less salt and oil, when compared to regular pickle recipes. More salt and oil is added to pickles, mainly to help preserve it for a long time. When you add less oil, try to finish the pickle soon, or it may grow fungus.


  • Hmmm... Now just waiting for the pickle to improve and have it with breakfast, lunch and dinner... and maybe in between with snacks too !